Content

Tekton One Three

2015

I built a thing, as part of D-Fuse for our gallery show Pattern & Noise. The following is a long exposition of the build, which – along with this text, apologies – got quite tortured. It’s lifted from the project post at South London Makerspace, where I’m a member and did the initial build.

Concept

TEKTŌN is an on-going collaboration between Mike Faulkner and Paul Mumford. A series of virtual machines are driven parametrically to make light patterns in space.

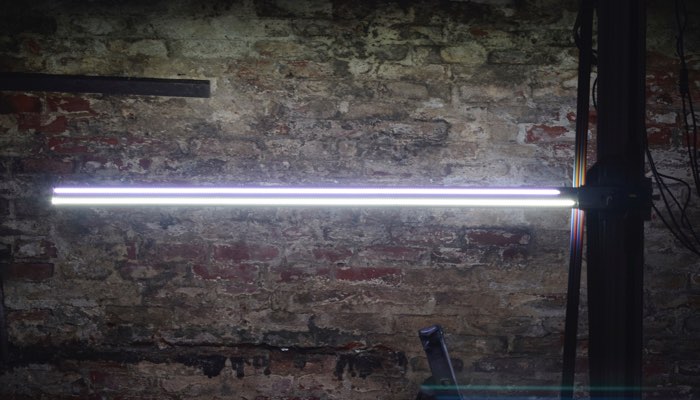
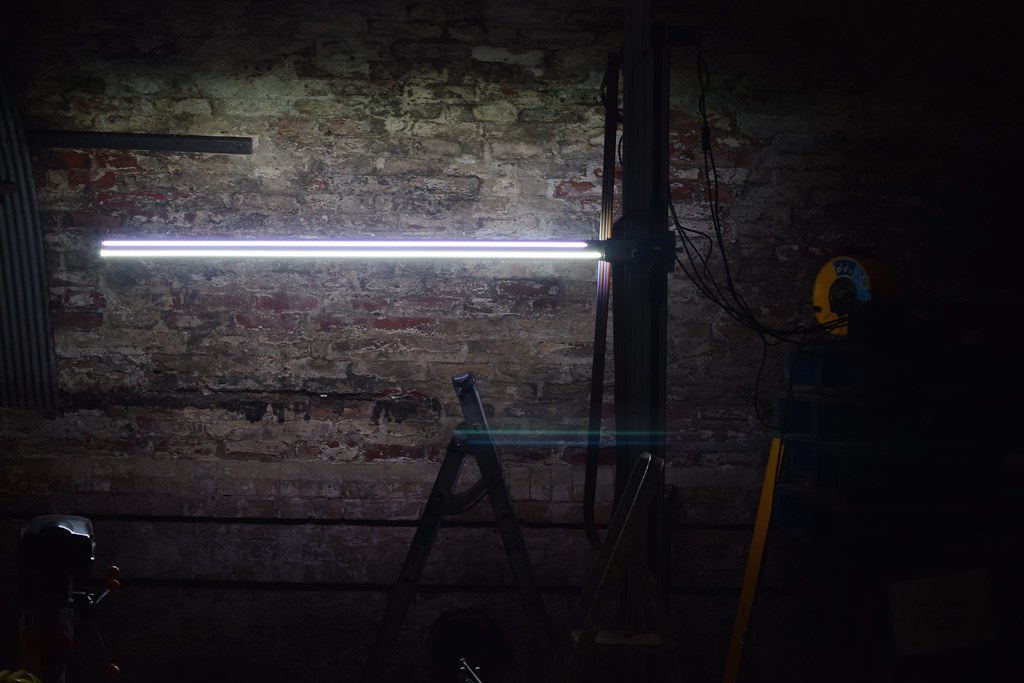
TEKTŌN ONE THREE’s mechanism is two horizontal bars of light points that animate up and down. At time of writing, this mechanism is modelled and animated in Touch Designer by Paul, realised on-screen in an audio-visual recording Paul made, and realised in physical space… with what you see here, by me, Toby Harris.

This physical machine was developed to be a centrepiece of the D-Fuse gallery show “Pattern & Noise” at Wood St. Galleries, Pittsburgh, USA. This meant we – D-Fuse, our artist collective – had a budget to work from, but also a hard deadline to ship to.

Tekton One Three - Touch Designer Simulation from Labmeta on Vimeo.

Design

Initial discussions of models, lightweight structures and hacking filming equipment fell to the wayside as desire for the aesthetics of industrial machines aligned with the forces of filling the large gallery space and running reliably for three months. The brief that formed was for a machine that could move two LED filled bars ~1.5m long vertically for a 2m run, to paint light in space without any structure visually interfering with that image. We knew dynamic constraints of a physical machine couldn’t get us to where the screen based simulation was, but we wanted to get as close as we sanely could.

The project was well-timed to take advantage of the new APA102 individually addressable LEDs, ‘dotstar’ as sold by Adafruit. Unlike previous WS2812 ‘neopixels’, they can be driven by a Raspberry Pi, and driven fast. Using a Raspberry Pi was interesting as amongst other things having a full wifi stack and linux software for, say OSC could mean easy sync between multiple controllers and realtime control from Touch Designer.

Mechanically, research led to either buying a pre-made linear slide or assembling one ourselves from a system of parts. Assembly ourselves also implying disassembly for transport, we opted for the latter knowing that shipping was going to be a much easier problem if we could break down the machine into standard, smaller packages. There was also the benefit of no lead time, as they’re parts taken from stock rather than requiring a factory to make the slide to length.

There are countless Aluminium profile systems but only the MB Building Kit for Mechanical Engineering from Item had the range of niche accessory parts to solve whatever need I had while spec’ing up options for the machine. And they had a US operation, too. The option that won had 3-4m long floor-ceiling bars that we would buy locally rather than ship, with a 2.3m bar we would mount slide rails on, and a 1.6m bar to cantilever out with LEDs. The mechanical fittings for the belt drive we could remove for transport, giving quite an efficient pack: two tubes and a flight case or two.

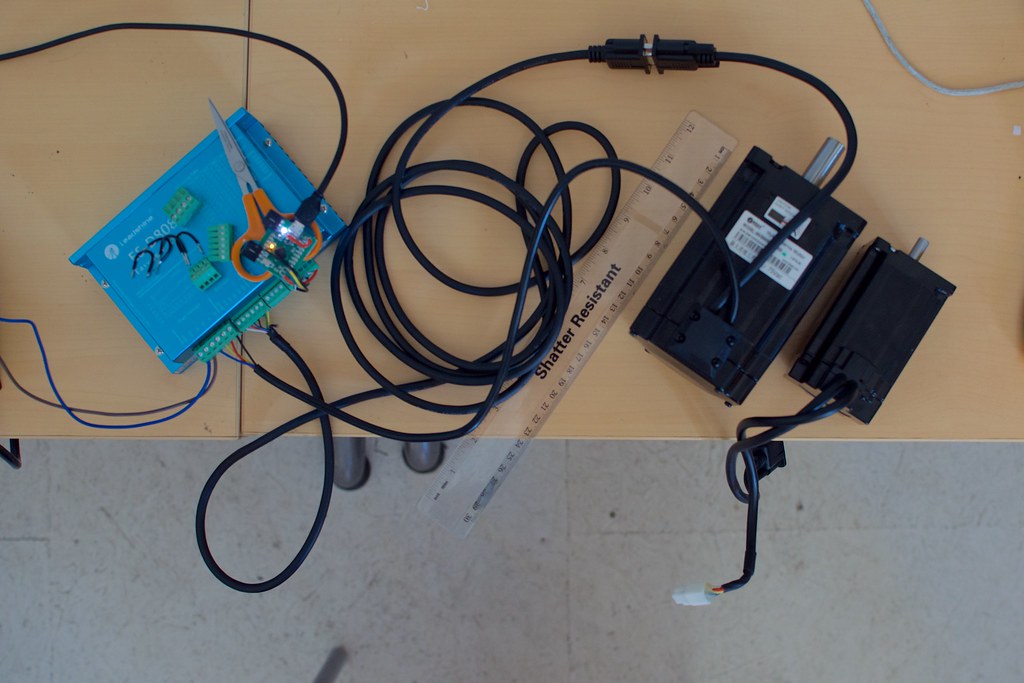
Item don’t supply motors but Zapp Automation – who we almost bought LEZ slides from – had the full range of keenly priced Leadshine Easy-Servo motors in-stock which seemed a good bet, particularly in having a driver unit qualified for the motors that would isolate any controller I made from the realities of motors, mechanics, and what would happen if something went wrong there.

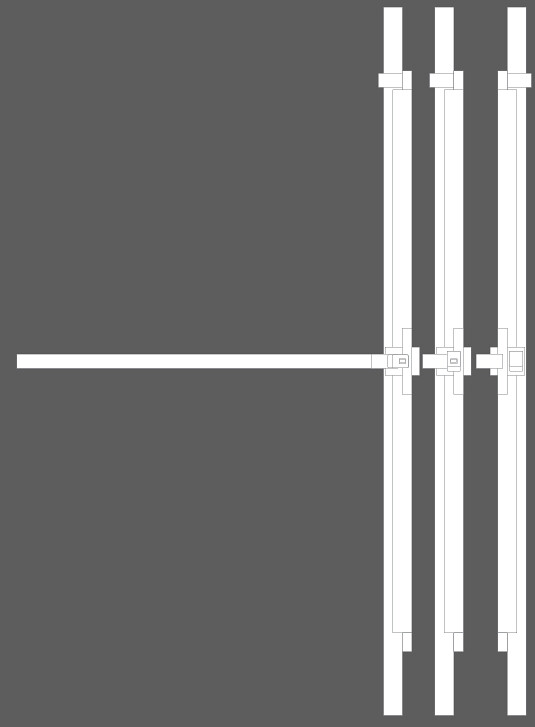
Screen Shot 2015-05-18 at 21.01.55

The design process was mostly scribbles and an ever-growing spreadsheet, but it did at some point need an accurate drawing as sanity check for dimensions. And so, the above.

Build

Is in diary posts below.

Diary entries

tekton » pcb

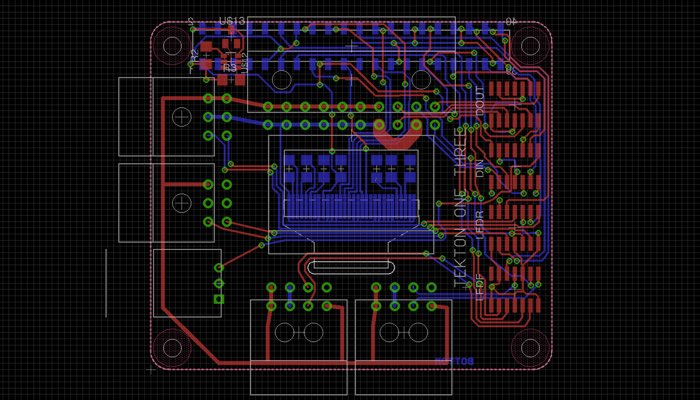
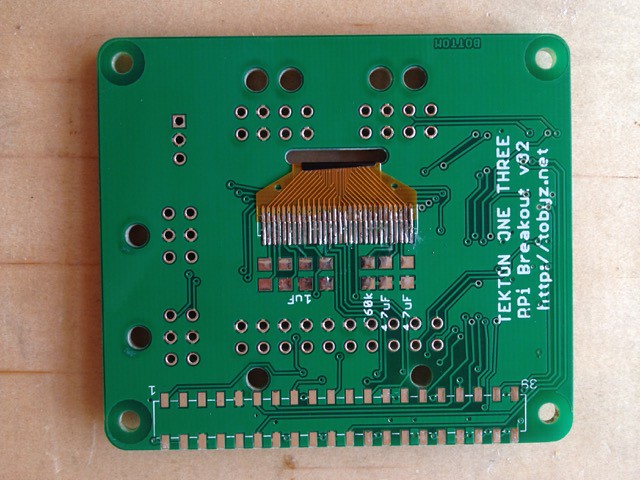
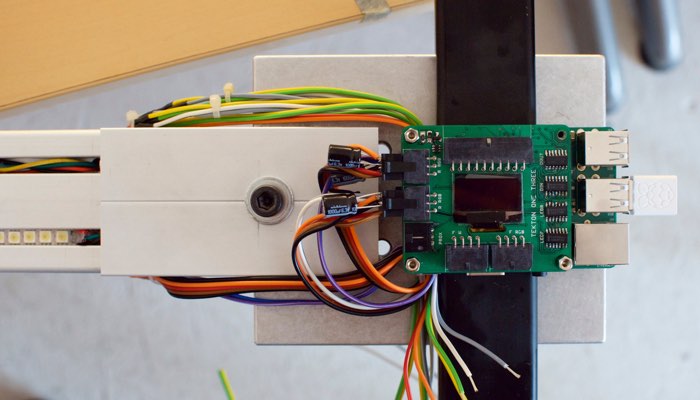
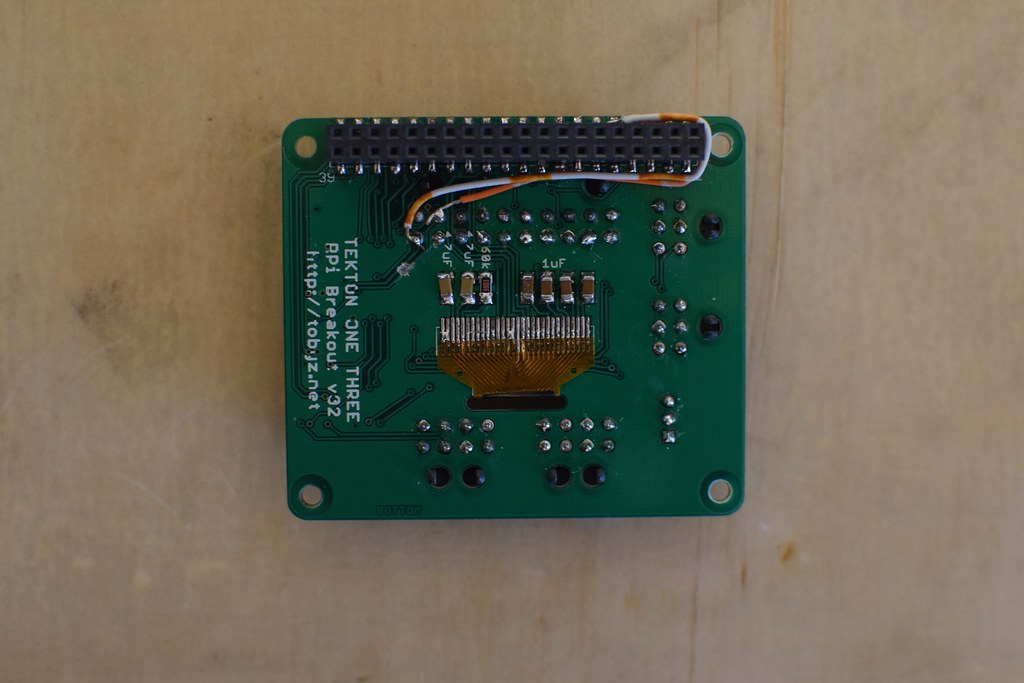
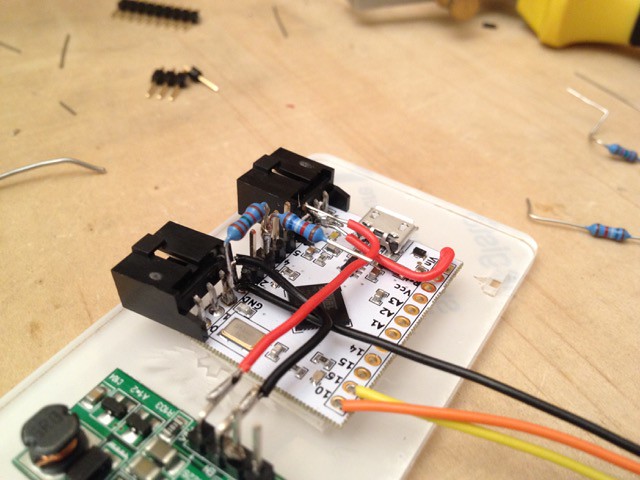
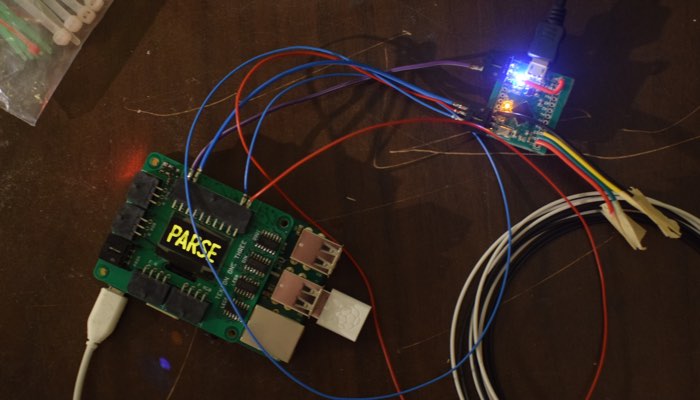
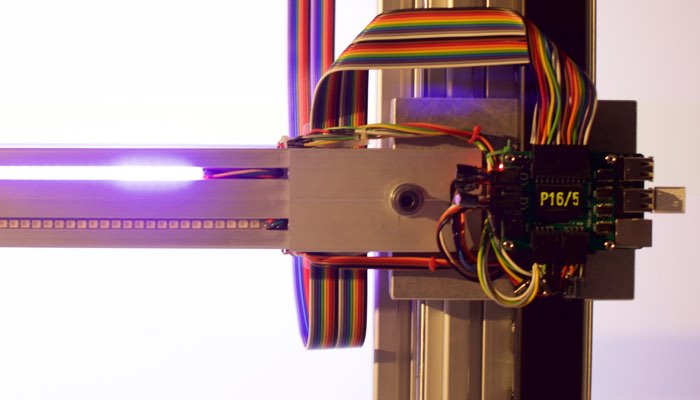
this is a daughter-board for the raspberry-pis that will run each arm of tekton one three. in theory, it was trivial: bridging the pi’s header pins to connectors for the specific cable runs that needed to be made, via 3.3v-5v driver chips. in reality, it was a painstaking hand layout: as well as the data lines, this was the power distribution board for whole lot of LEDs. double digit amps, most of the ribbon cable between moving carriage and fixed upright is simply power.

ordered the PCBs from http://hackvana.com – highly recommended, run by somebody who cares. with help of ninja friend Arron Smith i got to grips with soldering the 0.7mm dot pitch FFC too.

slms-tobyspark-jul2015-a - 1

tekton » machining

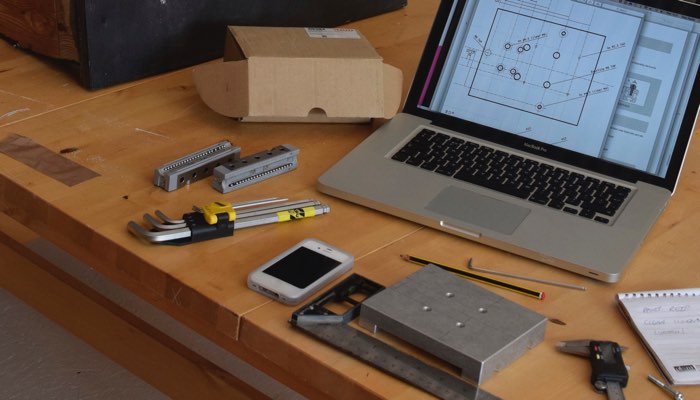
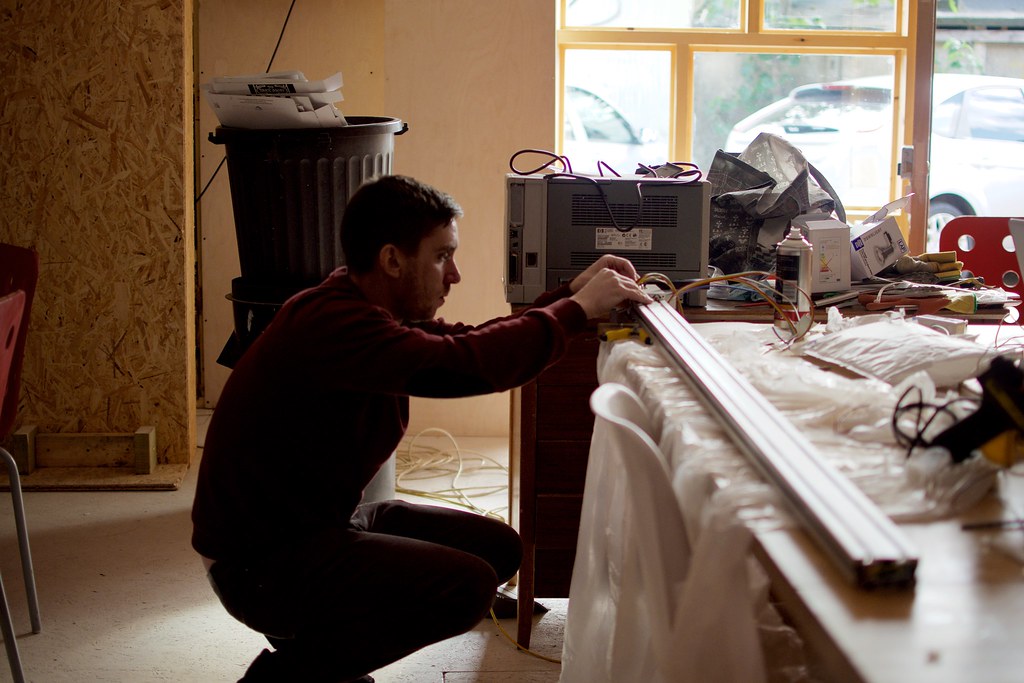
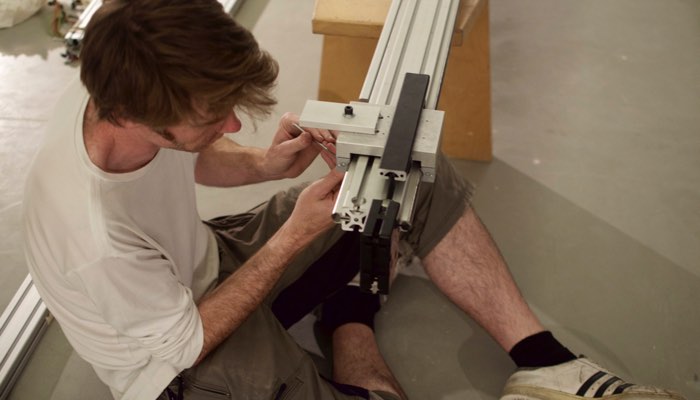
blocks of metal, calipers, drill presses… haven’t done this since mechanical engineering at uni in the nineties.

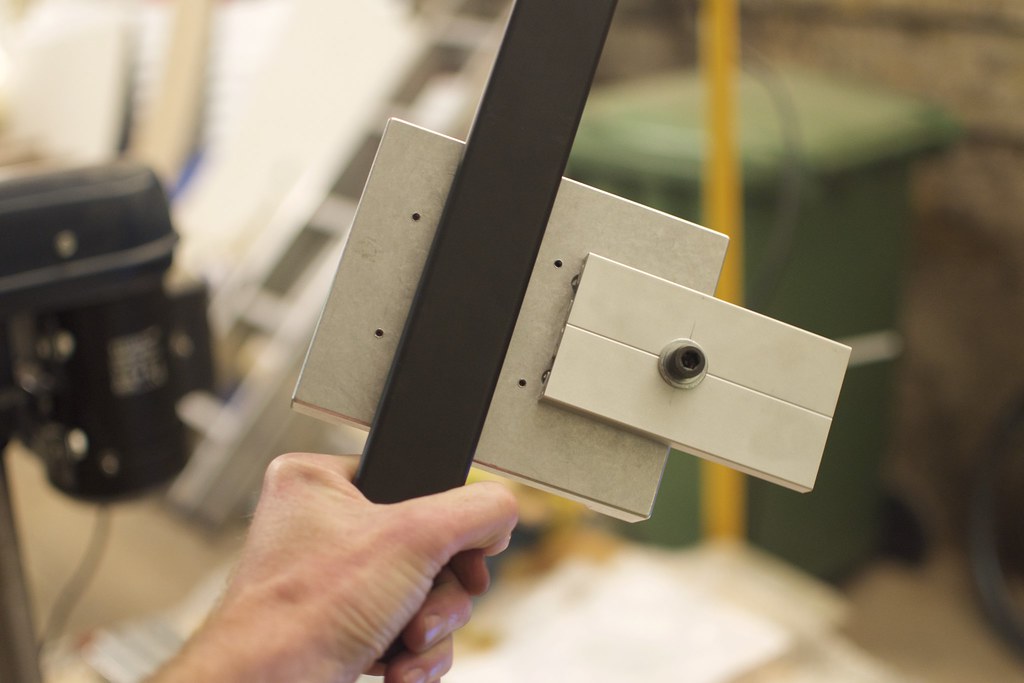
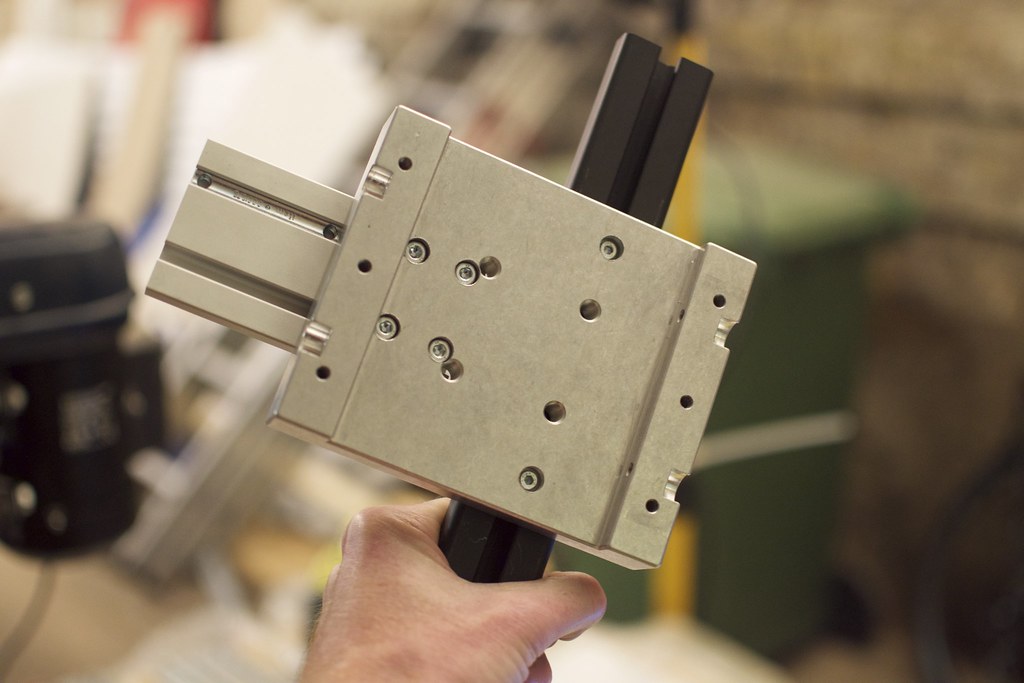
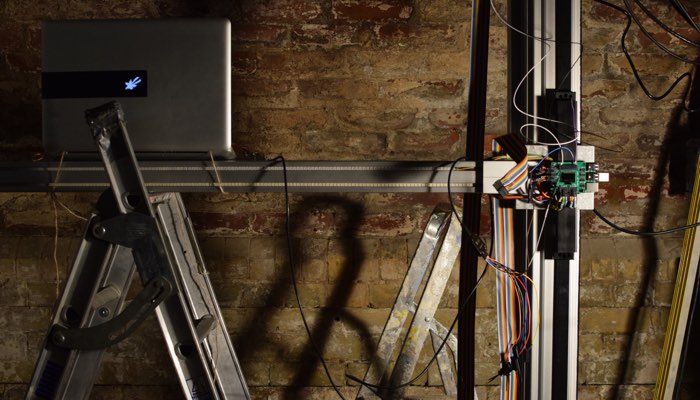
top photo is me verifying the modifications required for the carriage to fit the baton, the belt bar, and the controller. 11 holes from m3 to m6, some with recessed heads, some tapped.

i spent a long time figuring out what was best to run the led bar up and down. roller wheels on a solid bar came out best, as roller wheels are fast and being at the corners good for torque, and if what they’re running on is incompressible then the carriage should hold square. after asking some specific questions about the various item linear bearing parts to their staff, got a duff answer and what came out the box had ball bearing races. this part was chosen as being aesthetically the neatest, so there’s still good in having them, but there’s more friction than i’d like, and ball races have turned out to be fragile. if there was to be a tekton one three mkii, this is something i’d change.

slms-tobyspark-openingnight

slms-tobyspark-openingnight

tekton » sharp

carriage blocks machined, pcb assembled, parts mounted and LED bars have LED strips fitted and on their way to being wired. damn fiddly, not without it’s trials and certainly time consuming, but looking damn sharp.

fitting the ‘dotstar’ LED strips in particular is both wonderful and frustrating. such a nice fit when fitted, but all sorts of trouble getting in and out, an action liberally aided by silicone lubricant. lots of silicone lubricant. but many gotchas: the rubber sheath stretches as you pull the assembly through, so woe betide you if you need to adjust afterwards or pull out again (which, this being both prototype and first assembly, you’ll end up doing a few times); the dotstars are not continuous strips and you either need to de-solder the appropriate joint of the 60/m low-density strips which sold as 5m rolls but are actually factory soldered 0.5m sections, or completely remove the copious silicone and whatnot of the 1m sections of 144/m high-density strips and solder together. just doing that on the bench could be unreliable, and when sheathed and pulled into the groove… yeah.

tekton » let there be light

LED baton mounted on the vertical slide mounted on the floor-ceiling bar, power supplies installed and wired up, first pass software to run the LED strips… let there be light!

to this point, everything has been to plan and as per researched data sheets. the motors do not prove that way, in any way. mechanically mating them to the pulley end-unit proves to be fraught with issues; likewise for their control.

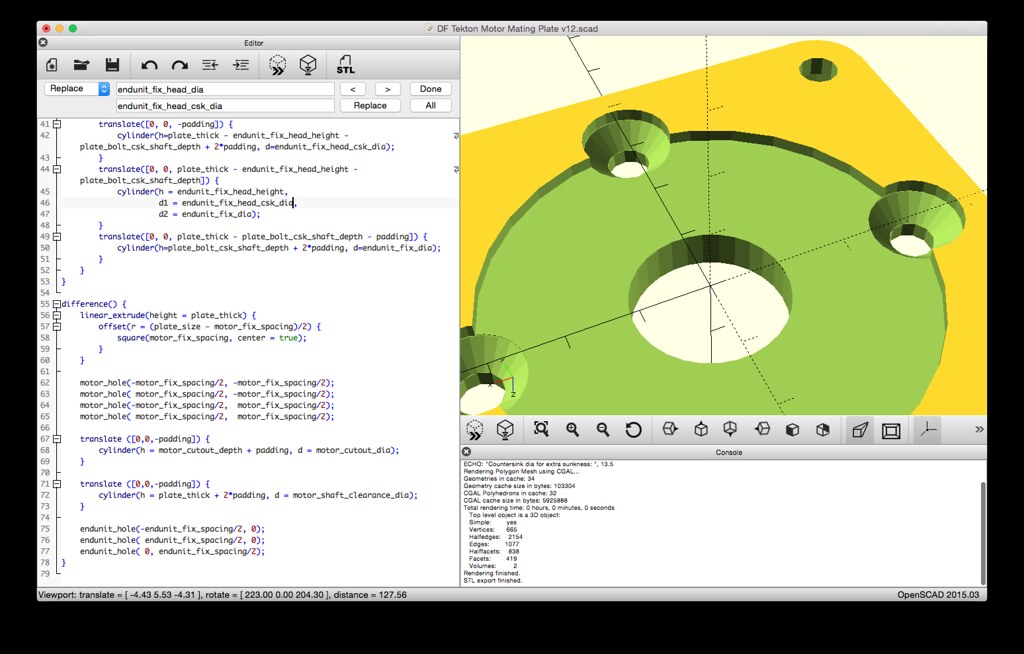
the particular motor chosen has a shaft that matches the diameter of the bore in the pulley, this i had checked. what i had overlooked, is that unique to this particular motor in the range, the shaft length is much less than the others. so short, that engaging into the pulley is an issue. this requires making a motor mating plate as thin as possible, and some horrible work arounds with offset grub screws, taps and holes where they shouldn’t be, and access holes where they shouldn’t be to be able to tighten the result up. eventually it was done, but it was a bruising night.

having got a mechanical fit of motor to frame and pulley, then onto control. a quick implementation in the python script running the controller, and the vertical position is being read from the text file and translated into stepper pulses to sync the mechanical position. code

so… it’s alive! it works…

slms-tobyspark-jun2015-10-dsc_0499

…but actually it doesn’t. the control isn’t giving smooth operation. it hurts just thinking about the jittery movement and how the cantilevered led bar amplifies that.

tekton » debug

of course, things are never straightforward and the particular nightmare of this project starts: motion control. every single aspect has problems. start the analysis, isolate issues…

tekton » stepper pulses

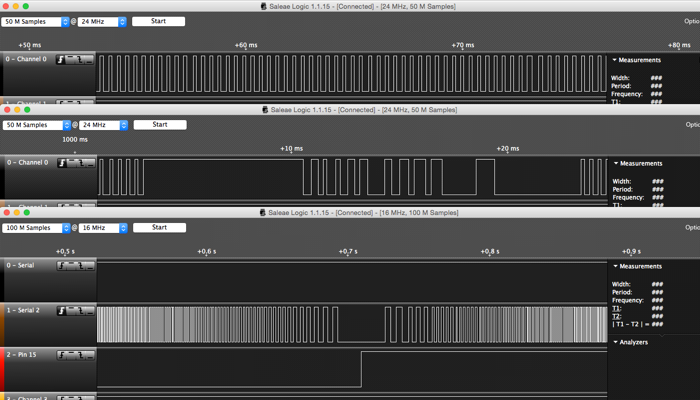
in the midst of those debug wires was a logic analyser that hooks up to a desktop app. best thing ever – thanks again to ninja friend Arron Smith. using the logic probe to examine the control signals, i stripped down the control script to create a constant turn and the result is not good. stepper pulses, top: looks even. stepper pulses, middle: hell no. that’s just a little later in the same sample.

no wonder the motor doesn’t have smooth motion, with the shuddering action making horrible noises and vibrations through the structure. realisation one is that it’s not possible to get the timing precision to get near the pulse frequency to drive the motor at a decent speed, and realisation two is that the timing accuracy is just not there. running this machine from a python script on a raspberry pi with it’s stock linux installation was an experiment, and this is where “let’s try the future” fell down. simply, it’s not a realtime environment. however, a bare bones sketch on an arduino, flipping a digital out between delaymicroseconds() of 5 and up did work beautifully. somehow a middle-ground had to be reached.

the first stage of that was to simulate the 60fps commands of the driving animation while being a stand-alone program. a sin calculation also takes ~120µs on an arduino, considerably longer than the minimum pulse time of around 5-10µs. the beautiful step signal shown bottom is the output of calculating sin(time) every 1/60s, and for every loop in-between, calculating a linear interpolation between the last two sin points, comparing that with the current position, and issuing a step and/or direction change if needed.

later, in the down-time while shipping and the gallery install, i’d spent time working through options to drive the motor better. the machine would run smoothly – purr, even – if i drove it with something known-smooth like a sine wave, but whenever i switched from this a problem appeared. the intention had always been to add some kind of inertial smoothing to the control, so that whatever input the controller took would translate into something that was mechanically viable for the machine. accelerating the led bar puts torque on the linear bearing, and the weight of the whole assembly will simply stall a stepper motor pulsed from still to a constant turn. the answer should be to employ a physical model in the code, which with a little research the accelstepper library effectively does. you can command a step position, and it will take the motor there within a defined envelope of speed and acceleration. every stepper project should use this… except it turns out the maths is too computationally expensive to achieve anything close to stepping fast enough for this project on an 8mhz arduino.

problem was, any other strategy i tried in my own stepper driving code proved insufficient – i had high hopes for a simple median filter. this may have been partly due to the other side of driving the stepper smoothly: the microsecond consistency of pulse timings (as discovered originally, trying to drive direct from the pi). i suspect the serial read of commanded step position from the pi was interfering with this and/or disrupting the exact regularity between received commands that the linear interpolation relied upon.

in hindsight, two things stand out. one is that the raspberry pi is incredibly fast and powerful compared to the arduino, so running such a library fast enough would present no issue, if it ran a realtime operating system akin to the arduino. this required more linux-fu than i had headspace for at the time, but is surely the correct way to go. the other is a little more embarrassing, in that research since has shown the stepper driver – the hardware box that takes the logic level step pulses and makes it so – has an optional smoothing filter that is configurable by software. i never got to this, as mentally the driver was sold as not needing software configuration, the very point being it was pre-tuned for this series of motors, and physically, the interface cable was bespoke and i didn’t buy it. just perhaps breaking that mental mould to make up that cable could have saved me nights worth of grief.

to cut back to sitting in front of the machine with the opening in hours not days, anything that wasn’t that sinusoidal self-driving arduino sketch was causing horrible, horrible sounds (something like a resonant frequency in the half-coupling and splined shaft that slotted into the pulley), and so running sinusoidal was what it was going to be.

and to underline just how crazy the whole motor episode was, simply adding a debug line to send the current position of the motor to the serial console when the belt mid-point marker passes the sensor caused mechanical vibrations that made you want to turn the whole thing off. that’s how sensitive the pulse timings are. throughout, it has been the worst case of observing changing the observed.

tekton » moving

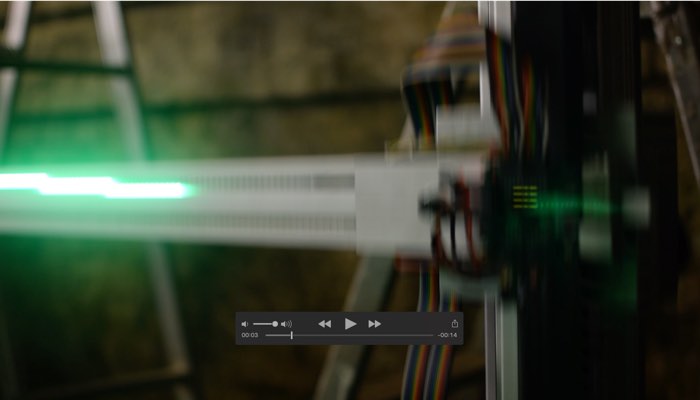
arduino loops to the microsecond to give smooth motion weren’t the only performance-critical bit of code required. the animation sequence wasn’t playing far too slowly - nowhere near the 60fps the animations were authored for, and now we can see it moving, it was clear it needed to be that fast and smooth to play with your perception as you looked on. updating the oled display and addressing the led pixels was taking too long. i knew you could drive this kind of oled crazy-fast as i’d written my own library from scratch for the mixer hardware, and i knew there was a lower-level way of driving the led strips. so: abandoned updating the oled for the time being, and advanced the controller python code to construct a bytearray per strip rather than set each led individually… and voila! naked-eye illusion. code. tho’, somewhat by definition, the video doesn’t quite capture that (tho’ watch the leds as the bar accelerates up…/).

slms-tobyspark-jun2015-2-dsc_0537

what the above skips over is that if an arduino is now going to sit by the stepper and drive it, the main raspberry pi controller now needs to control the arduino, not the stepper drive’s pulse pins. and so, perhaps inevitably, the custom board i made to extend the pi gets a hack to disconnect two direct control lines and rewire them to the pi’s hardware serial pins. at least the pcb design was good, it’s just that the spec changed!

slms-tobyspark-jun2015-9-dsc_0504

to get this working, the arduino just interpreted the last byte received as a 0-255 value and scaled this up to the step range, around 20,000. that was pretty coarse and certainly less than the precision of the float value supplied in the animation sequence, and so while the machine was in transit i developed a protocol to pack an integer that could represent that kind of number into a series of bytes, keeping things as efficient as possible.

in python, on the controller: from a single byte, coarse and with no messaging capability –

arduinoserial.write(chr(int(float(items[meta_vpos_index])*255)))

which the receiving arduino handles like so…

to three bytes each with two bit command type and six bit payload –

#command 01 = sequence run vpos start
vpos_steps = int(meta[2]*drive_max_steps
arduinoserial.write(chr(0x40 + ((vpos_steps >> 12) & 0x3f)) + chr((vpos_steps >> 6) & 0x3f) + chr(vpos_steps & 0x3f))

which the arduino handles like so…

oh, did i mention there’s two of everything? the model is actually two floor-ceiling bars each with the rails of slide bar, carriage running on them, and led bar cantilevered from the carriage. being way over schedule and needing to ship the model to the gallery in the us, here is the excellent david meckin helping to wire up led bar #2.

slms-tobyspark-jun2015-b-6-dsc_0538

tekton » air freight

designed to be both possible and affordable to ship, the time has come to leave south london makerspace to make its way to exhibition in the US.

of course, there was a whole lot of pain before it so neatly packed up…

slms-tobyspark-jun2015-c-12-DSC_0559

day before one of the new motors arrives. not the best timing, i’d admit. this would have happened at least a week earlier, but it was hard to verify the suitability of the motor while the motor control wasn’t reliable. we seemed to be at the edge of the 3nm’s ability: it could do that sinusoidal cycle video’d above, but that took a few iterations of settings and was slow and only travelling half the range. the 3nm choice was made by calculation and looking at the torque curves, and reassured by having same shaft size as pulley it mates with… but this was out, an 8nm was in.

screen shot 2015-06-21 at 00.01.56

and with a new motor, new mounting issues. things are painful for a while. here’s the motor mating plate that never happened, as after various false starts guaranteed-good bested over-engineered and we used the item 50nm coupling and assembly, with some machining from gary at zapp automation.

slms-tobyspark-jun2015-c-3-dsc_0634

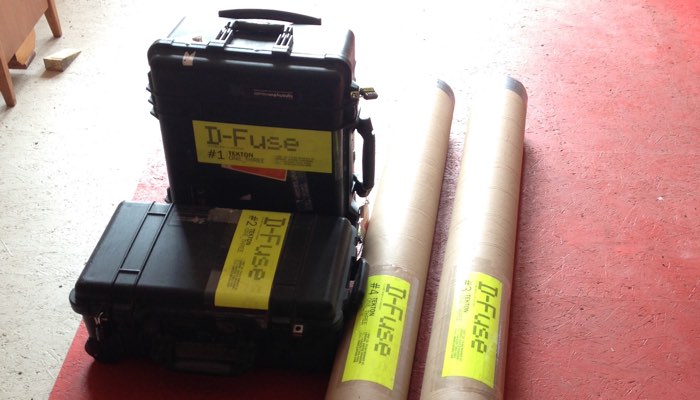
nonetheless, the machine needs to ship to the gallery in the us, and so it’s disassembled and packs down into two 2.5m long tubes and two peli cases. pretty compact, and standard sizes for ups / fedex / etc.

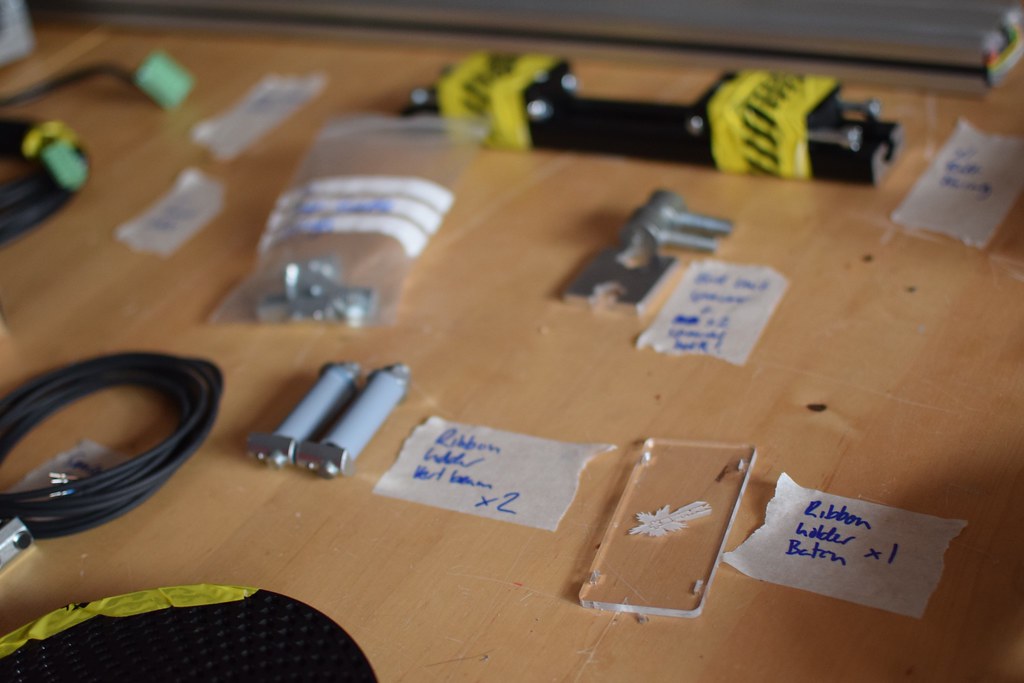
thanks to trotec for the laser cutter at south london makerspace: that perfectly sized and zip-tie slotted clear piece of perspex replaces a bit of wood i had to hand as i first mounted the ribbon cable. in-situ, it completes my favourite bit of the whole machine

slms-tobyspark-jul2015-a - 3

aside from the ongoing motor issues, the last thing to be done in london was upgrading the test arduino used to drive the motors to two production units, complete with 12v boost circuitry to run the induction sensor used to detect the half-way point of the belt. thanks to artists & engineers who made these white custom arduinos available to us.

pittsburgh view

hotel room view for the d-fuse show install. welcome to pittsburgh, quite the view.

tekton » on-site assembly

in wood st. galleries. inevitable delays. machine yet to be proven. hours ticking. and so it starts.

tekton » d-fuse billboard

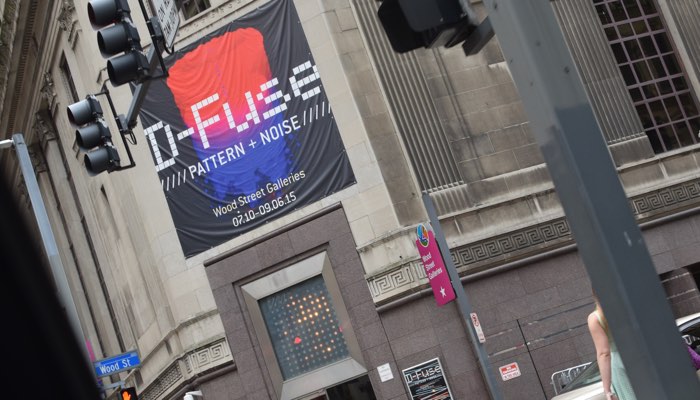
into the gallery at the crack of dawn; out, blinking, some time later. look behind us: waa! that massive billboard wasn’t there earlier. shame the print has over-saturated the beauty out of paul’s hero image, but so it goes; out of our control.

tekton » mounted

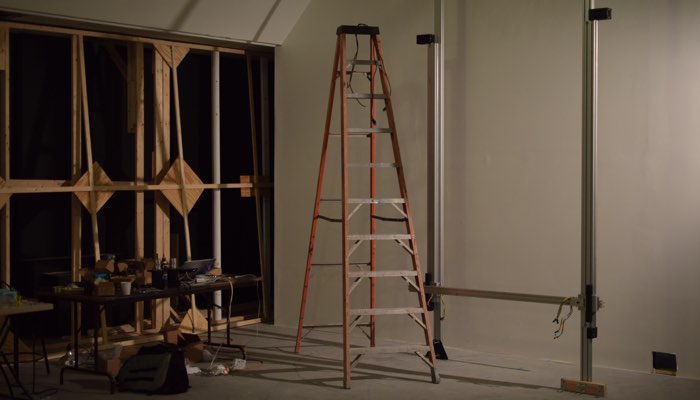
finally, two uprights and the two slide assemblies installed. i am about to spend a lot of time up that ladder.

tekton » optimised oled

the upright bars should have been in place on my arrival, that was the pre-requisite for me being able build the installation. as things were, the now partially pre-assembled units were only going up two days later, with only two days to go. this wasn’t good, but it did at least force some pleasant down-time where i got to do some things i’d wanted to do for ages, but motor issues had kept me from. so here is the oled finally looking nice, and not impairing the machine running at 60fps. drawing any text using python’s imaging system was way too slow, but with a little inspection of the adafruit driver library, i saw i could swap out the image buffer and flush that to the screen, which would be near-instantaneous. so with a little pre-rendering, the oled could now update while the controller waits for the next frame’s start time. controller code, now at ~9th revision

pre-render before starting the animation sequence, capturing each rendered buffer instead of sending the buffer:

def render_buffer_cache(prefix):
  for i in range(10):
    draw.rectangle((0,0,oled.width, oled.height), outline=0, fill=0)
    draw.text((0, 0), prefix + str(i),  font=font, fill=255)
    if host_upsidedown: 
      oled.image(image.rotate(180))
    else:
      oled.image(image)
    buffer_cache[i] = list(oled._buffer)

for each frame of animation, point the buffer at the next pre-rendered one and send the contents to the display:

oled._buffer = buffer_cache[frame_index % 10]  
oled.display() 

tekton » ssh to start

PSUs installed. belt installed. motor and driver installed. ribbon hung and wired. controller electronics installed. LED bars mounted on and hooked up.

power on. ssh in over wifi. run test programs. no explosions.

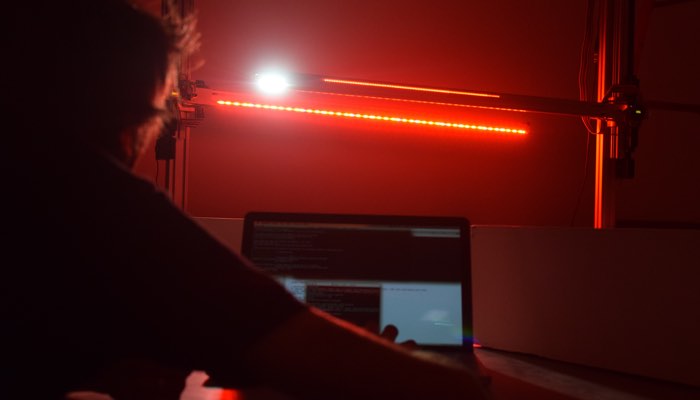
so, with hours rather than days to go, finally get to sit in front of the machine and start to think of it as art. although this is not finessing: the motors are still not behaving, not all eight led strips are working, i’m still working with test sequences. soldering iron and ssh connections in hand, time to pull the rabbit out of the hat.

aside – definitely a brave new world when you can ssh in over wifi to your installation. a much happier time tweaking python from the gallery floor, than c++ up a ladder, wires trailing.

tekton » is it done?

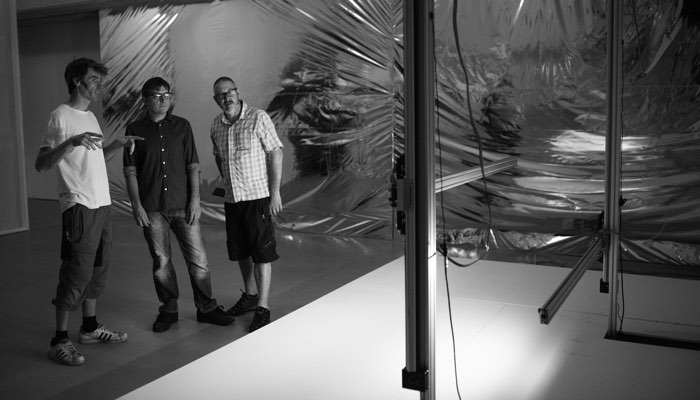
d-fuse in conference. it looks done,right?

photo credit: mandy fiernans

tekton » done

as done as done gets.

tekton » on

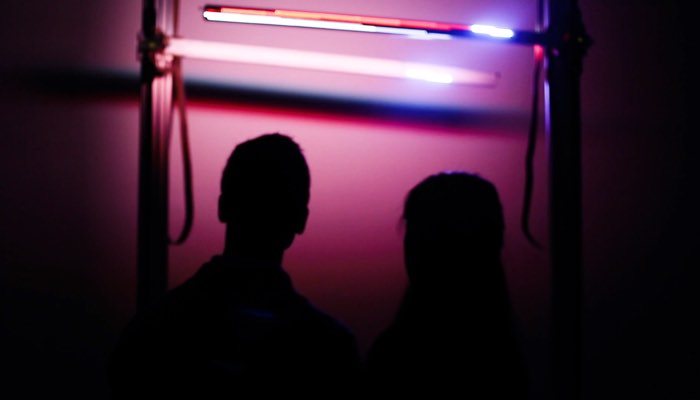
it’s on. much gazing.

tekton » opening night

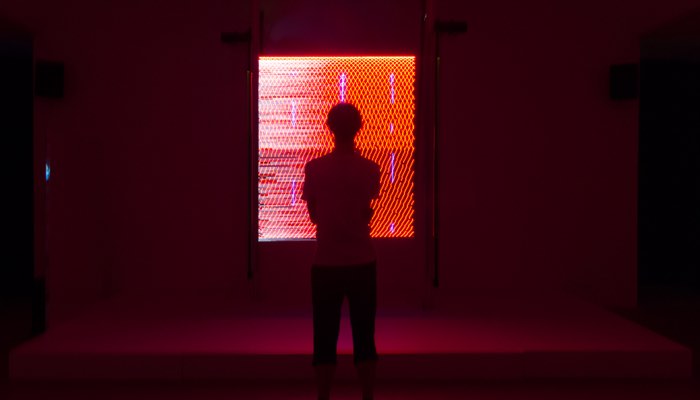
made gallery opening night. just. the video the gallery commissioned is great: watch it.

image credit: still from joey kennedy’s video, linked above.

tekton » maker's mark

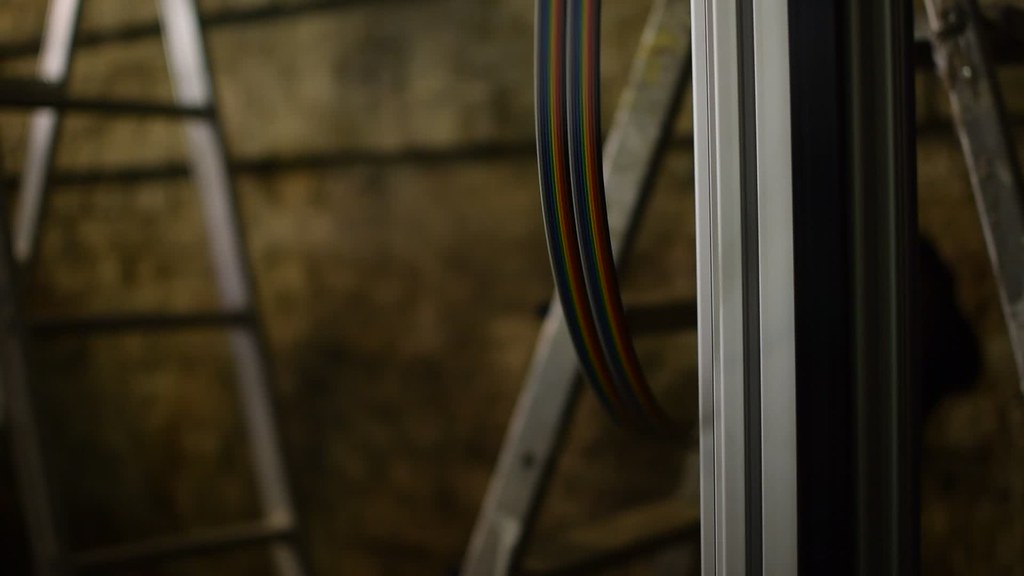
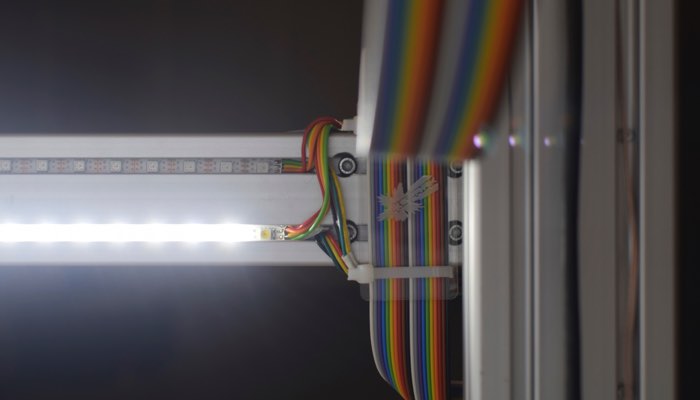
my favourite bit of tekton is of course what nobody sees, or for that matter should see. this is the view from behind, and while yes, it’s the makers mark, what gets me is the rainbow cable against soft yet rectilinear aluminium. something quite pure about it.

emaf » tektõn

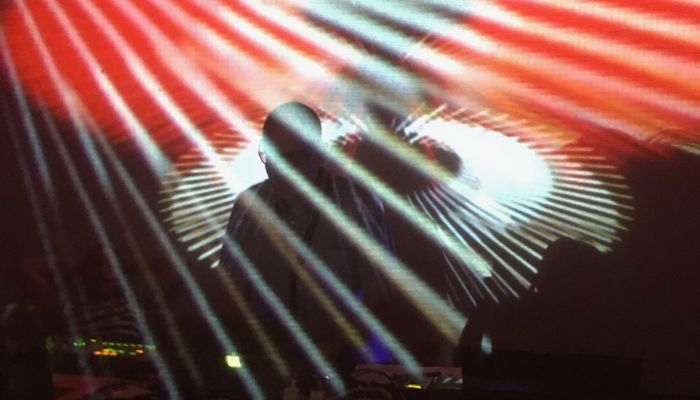
some days, it all just works: smooth setup, time to rehearse, packed house, nailed performance. boom. d-fuse at emaf.